Patching your tools release with ERP analytics
Procedure
We are going to locate out current deployed tools release, patch it with ERP analytics, deploy it and then confirm that things are working.
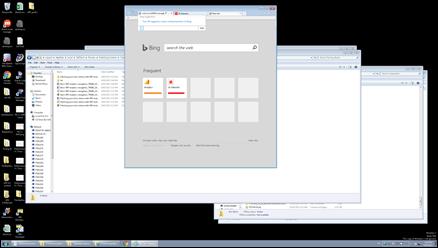
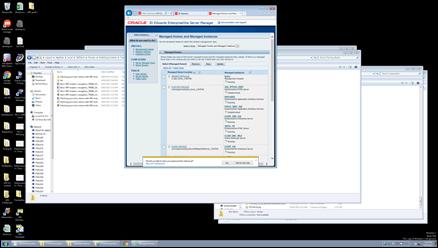
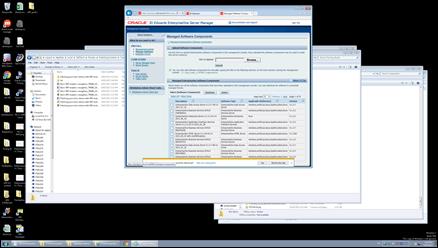
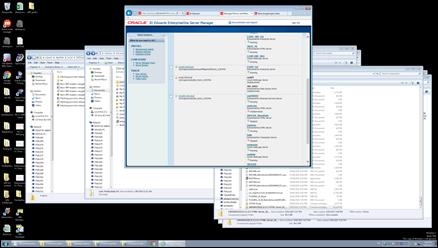
First thing is to login to the server manager console.
|
Step |
Action |
|
1. |
Press [Enter]. |

|
Step |
Action |
|
8. |
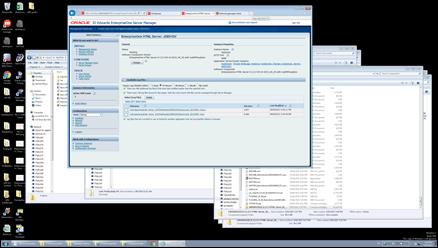
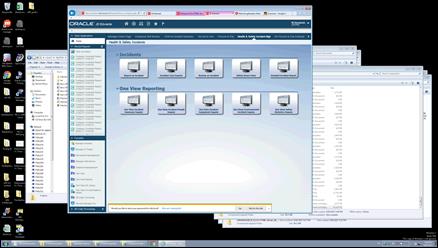
This is the one that I want to look at. Click the JDE91DV link.
|
|
Step |
Action |
|
9. |
Press the left mouse button and drag the mouse to the desired location. |
|
10. |
Release the mouse button. |
|
Step |
Action |
|
27. |
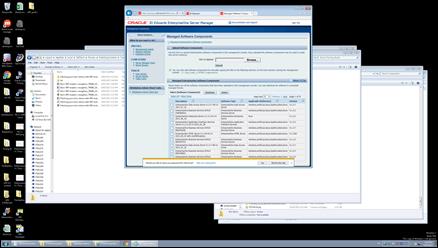
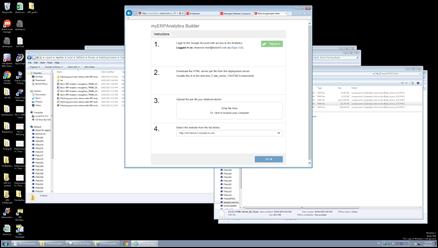
Enter the desired information into the field. Enter "https://erpanalytics.mye1.com".
This is where all of the patching is going to take place! |
|
28. |
Press [Enter]. |
|
Step |
Action |
|
34. |
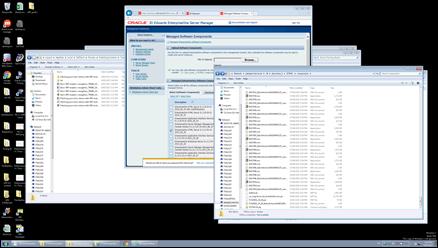
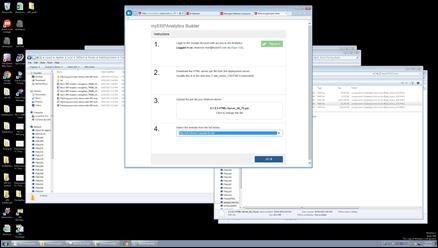
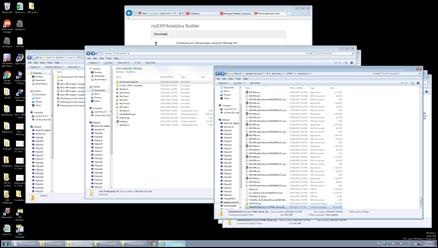
Hit GO!!! this is going to upload the tools to AWS and patch them and then allow you to download Click the object.
|
|
35. |
Click the Internet Explorer Main Window window.
|
|
Step |
Action |
|
36. |
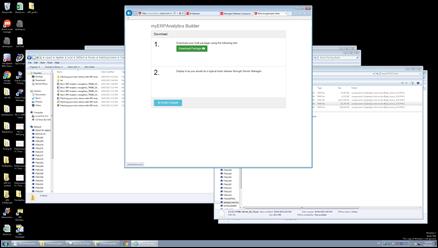
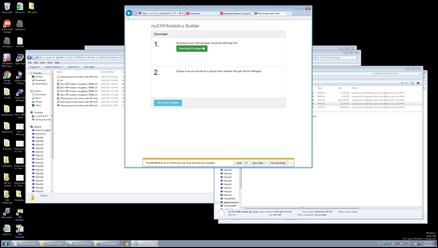
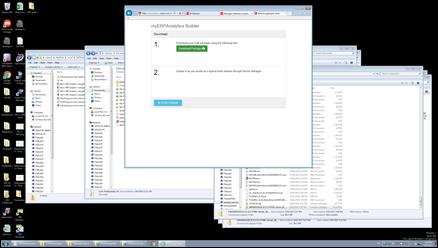
Click the Download Package link.
|
|
Step |
Action |
|
37. |
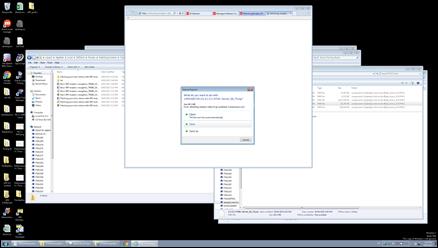
Save them and then copy back to the deployment server, or save as directly to the correct location Click the Save button.
|
|
Step |
Action |
|
38. |
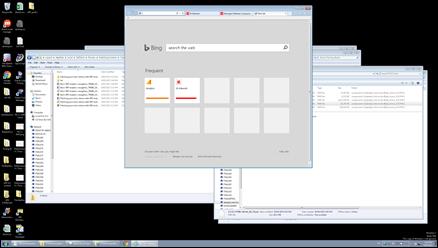
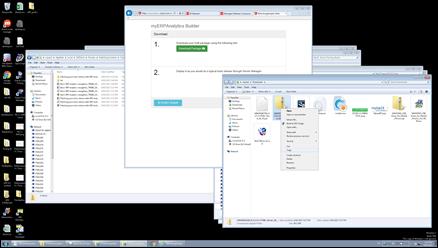
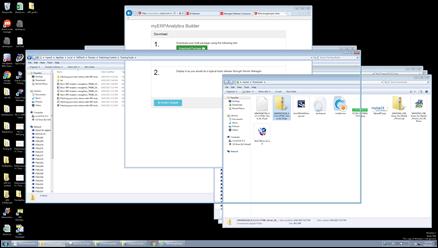
Click the Open folder button.
|

|
Step |
Action |
|
39. |
Right-click the 1494308154119_9.1.5.3-HTML-Server_06_70.zip list item. |
|
Step |
Action |
|
40. |
Click the Copy menu.
|
|
|
or Press [C]. |
|
Step |
Action |
|
41. |
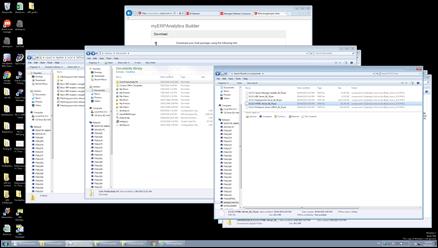
Copy the downloaded tools to the dep server
|
|
Step |
Action |
|
42. |
Click the Search again in: toolbar. |
|
43. |
Click the Back to components button.
|
|
44. |
Click an entry in the list. |
|
Step |
Action |
|
45. |
Click the Running applications object.
|
|
Step |
Action |
|
46. |
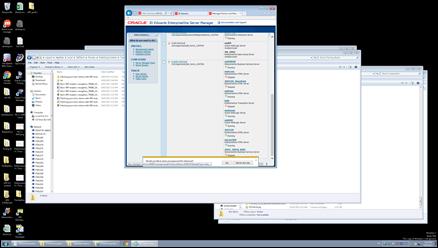
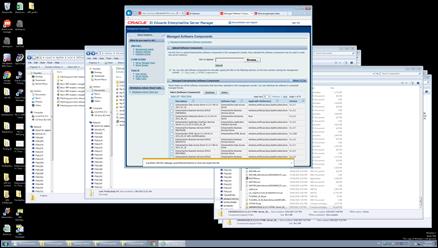
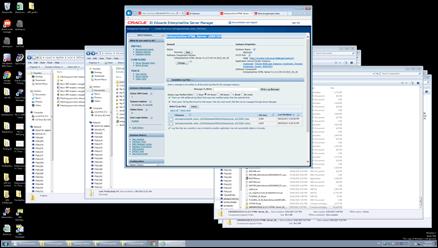
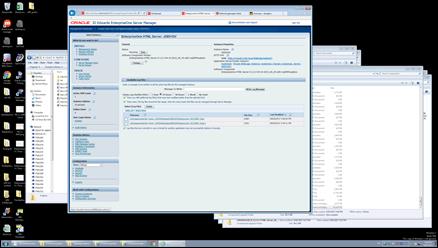
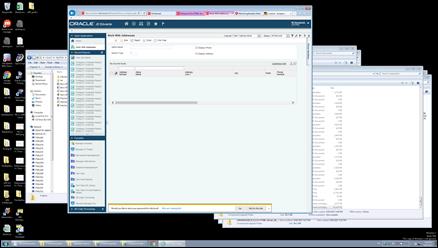
GReat, now find the tools in SM Click the Managed Software Components tab.
|
|
47. |
Click the Refresh (F5) button.
|
|
48. |
Click the Refresh (F5) button.
|
|
Step |
Action |
|
58. |
Navigate to your web instance in SM Scroll the Running object with the mouse wheel.
|
|
59. |
Scroll the Running object with the mouse wheel.
|
|
60. |
Click the JDE91DV link.
|
|
Step |
Action |
|
61. |
Press the left mouse button and drag the mouse to the desired location.
|
|
62. |
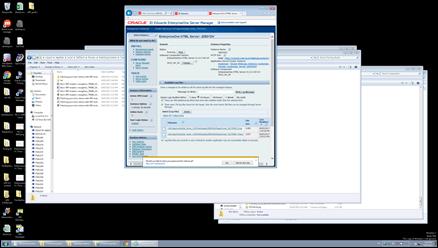
Click the EnterpriseOne HTML Server 9.1.5.3 04-14-2015_04_30 with myERPAnal option.
|
|
Step |
Action |
|
63. |
This might take a few moments. This will cause an OUTAGE!!!
|
|
64. |
login to analytics.google.com |
|
Step |
Action |
|
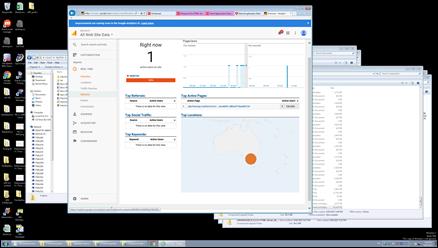
65. |
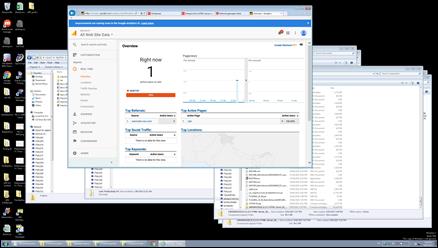
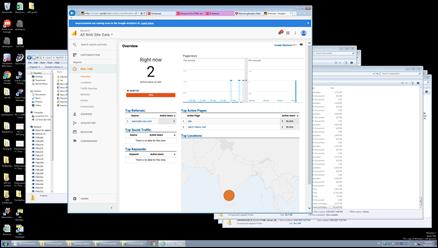
Click the Real-Time object.
|
|
66. |
Click the Overview link.
|
|
Step |
Action |
|
71. |
Now I log into JDE and make sure that the tracking is working Click the http://e1web2.mits.local:9088/jde/owhtml/ link.
|
|
Step |
Action |
|
77. |
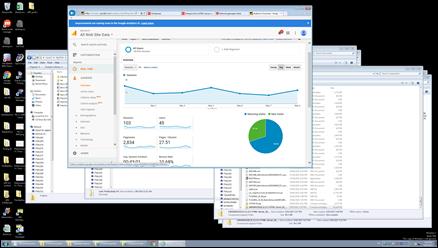
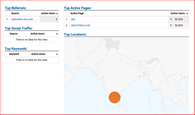
Click the Overview - Analytics tab.
|

|
Step |
Action |
|
78. |
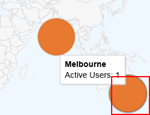
Ahh, nice two users... Scroll the Top Referrals: Source Active Users 1.automatic-seo.com1 object with the mouse wheel.
|
|
79. |
Scroll the Top Social Traffic: object with the mouse wheel.
|

|
Step |
Action |
|
80. |
Click the Waiting for e1web2.mits.local tab.
|
|
81. |
Click the Overview - Analytics tab.
|
|
82. |
Click the Overview - Analytics tab.
|
|
Step |
Action |
|
83. |
Click the Real-Time object.
|
|
84. |
Click the Real-Time object.
|
|
85. |
Click the Overview link.
|
|
86. |
Scroll the Bengaluru object with the mouse wheel.
|

|
Step |
Action |
|
87. |
I'm in from Australia Click the Overview - Analytics tab.
|
|
88. |
Click the JD Edwards tab.
|
|
Step |
Action |
|
89. |
Click the Navigator menu.
|
|
90. |
Click in the Fast Path field.
|
|
91. |
Enter the desired information into the Fast Path field. Enter "p01012". |
|
92. |
Press [Enter]. |
|
Step |
Action |
|
93. |
Click the Behavior link.
|
|
Step |
Action |
|
94. |
And I can see this application being used. My custom data will be built over the next 24 hours Click the Content - Analytics tab.
|
|
95. |
End of Procedure. |